2.6 KiB
Answer installation guide
Environment Preparation
- Memory >= 512M
- If using MySQL version >= 5.7
Installing with docker
Step 1: Start the project with the docker command
docker run -d -p 9080:80 -v answer-data:/data --name answer answerdev/answer:latest
Step 2: Visit the installation url
After selecting the language click next to select the appropriate database, if you just want to experience it currently, it is recommended to select sqlite as the database directly, as shown below
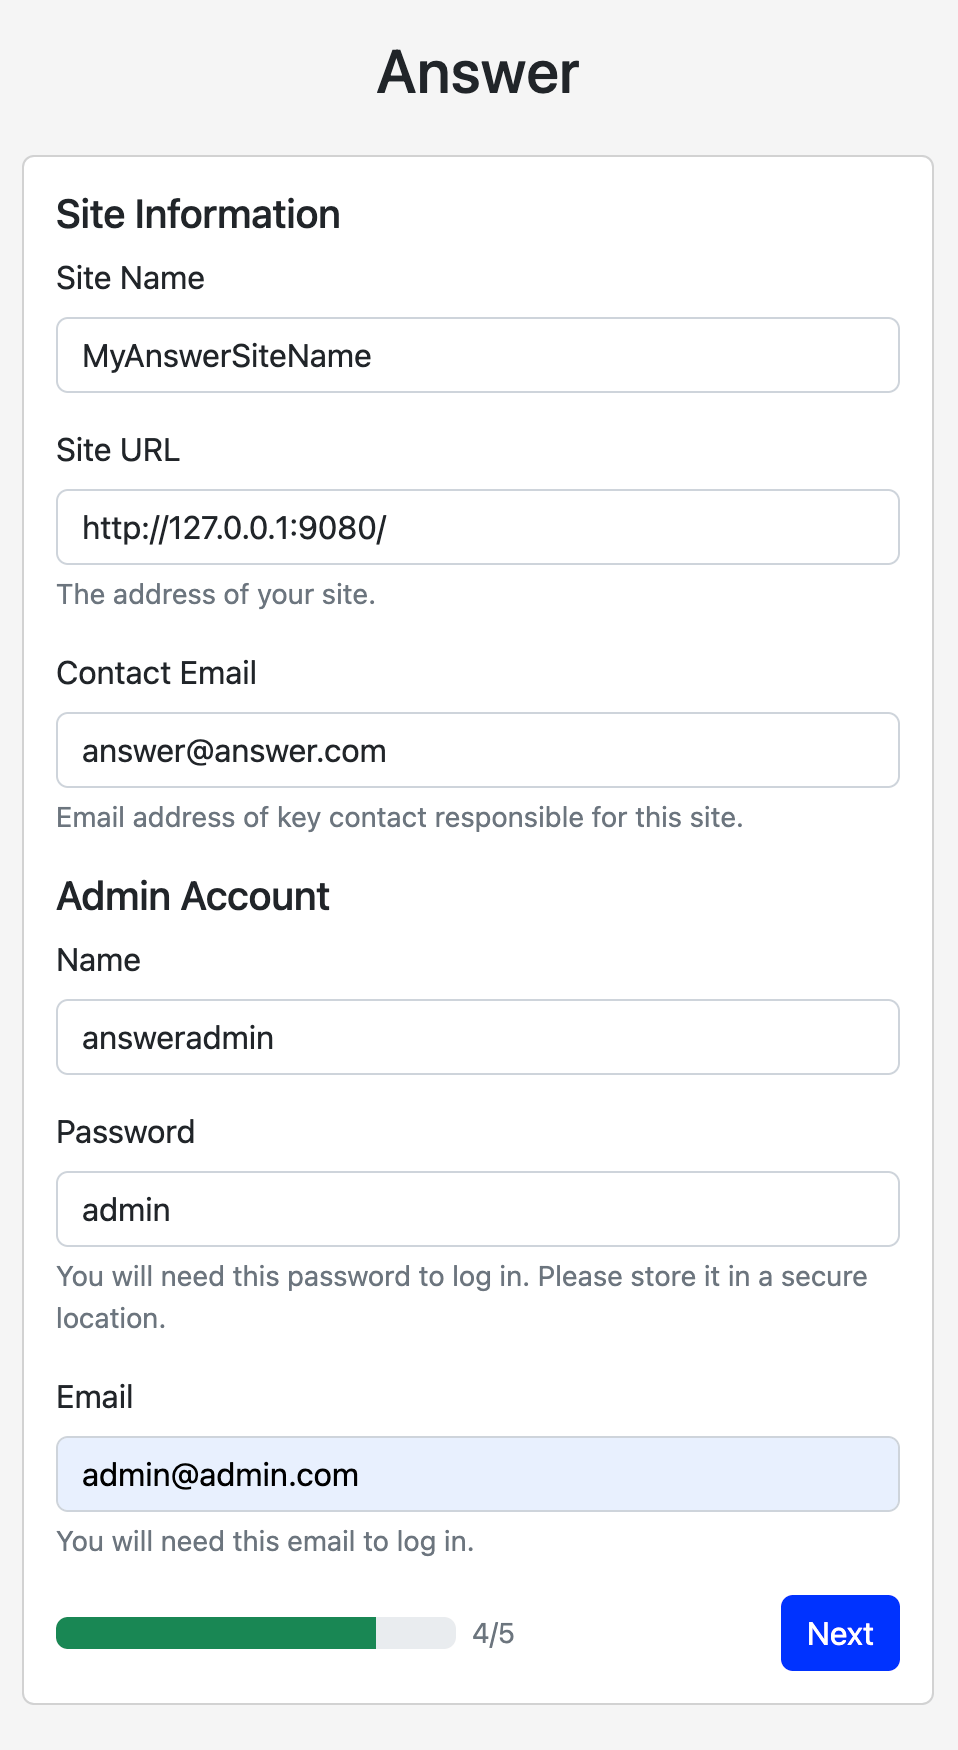
Then click next to create the configuration file, click next to enter the basic website information and administrator information, as shown below
Click Next to complete the installation
Step 3: After installation, visit the project path to start using
Login with the administrator username and password you just created.
Installing with docker-compose
Step 1: Start the project with the docker-compose command
mkdir answer && cd answer
wget https://raw.githubusercontent.com/answerdev/answer/main/docker-compose.yaml
docker-compose up
Step 2: Visit the installation url
The exact configuration is the same as for docker use
Step 3: After installation, visit home page
Install with binary
Step 1: Download the binaries
https://github.com/answerdev/answer/releases Download the version you need for your current system
Step 2: Install using command line
The following command -C specifies the data directory required for answer, you can modify it as you see fit
. /answer init -C . /answer-data/
Then visit: http://127.0.0.1:9080/install to install, the configuration is the same as using docker installation
Step 3: Start with command line
After the installation is complete, the program will exit, so use the command to start the project formally
. /answer run -C . /answer-data/
After normal startup you can access http://127.0.0.1:9080/ to log in using the administrator username password specified during installation
Installation FAQ
- Having trouble reinstalling using docker? The default command we give is to use
answer-datato name the volume, so if you don't need the original data again, please delete it voluntarilydocker volume rm answer-data

